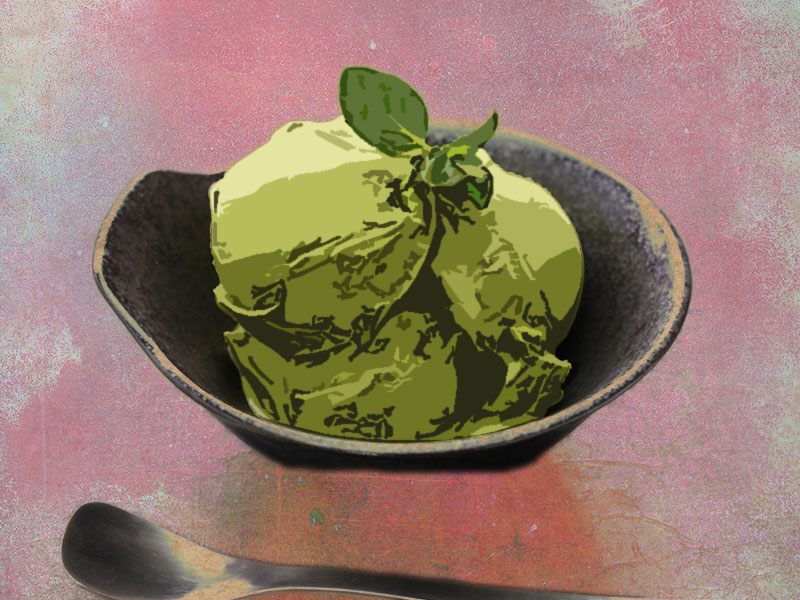
Hot damn. Weed ice cream? Organic? And with chocolate chips?
When it comes to variety, cannabis recipes for home-cooked marijuana edibles clearly don’t fall short.
There are homemade gummy bears, yogurt shakes from the far ancient East, and now, of course, cannabis ice cream. The THC version.
For a recipe of its non-psychoactive version, CBD ice cream, we have a different recipe in the works.
As for this THC version, we’ve selected a recipe that you can make with or without a home ice cream machine, so don’t sweat if one isn’t on hand.
So without further ado, let’s get cooking.
Recipe: How to Make Weed Ice Cream That’s Organic and Filled With THC
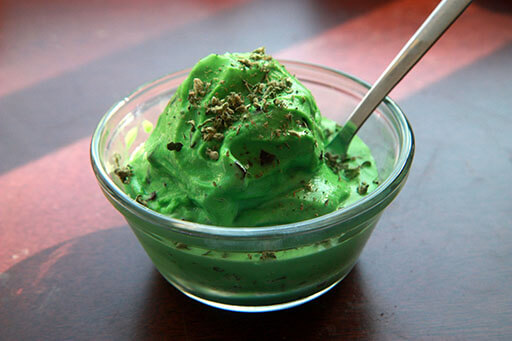
First off, which method are you choosing? If you don’t have a home ice cream maker, you’ll have to be a tad more patient.
Here are the details:
Ice Cream Maker Method
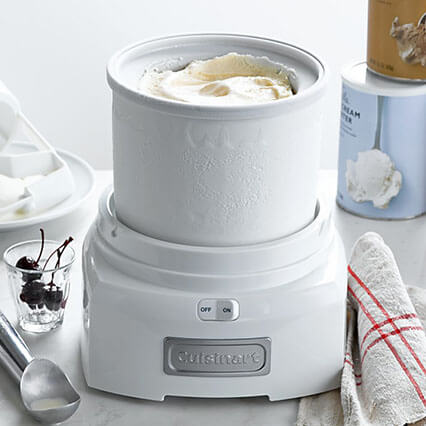
Prep Time: 5-15 mins
Cooking and Freeze Time: 6 hours and 45 minutes (2 hours for decarbing cannabis)
Total Time: 7 hours
Pan Method
Prep Time: 15-30 mins
Cooking and Freeze Time: 8 hours and 45 minutes (2 hours for decarbing cannabis)
Total Time: 9 hours and 30 minutes
Materials:
- 1x ice cream maker OR 1x pan
- 1x Cheesecloth
- 1x Fine Mesh Strainer
- 1x Ramekin or Oven-safe Dish
- 1x Saucepan
- Tin foil
Ingredients:
- 3.5 grams ground organic cannabis
- 6 large organic egg yolks
- 2 cups of heavy organic cream
- 1 cup of raw or organic whole milk
- 2 tablespoons of organic coconut oil
- ⅔ cup organic coconut palm sugar
- ⅛ teaspoon unrefined sea salt
- Green food coloring (or any color of your choice)
- 1 handful of organic mint-chocolate chips
- 1 teaspoon peppermint extract
- Optional: Toppings (Nuts, Fruits, Caramel or Chocolate Sauces)
Don’t Get Any Weed to Grind? That’s a Problem; One We’re Ready to Fix
Steps:
Step 1: Preheat your Oven
- Whether you opt for the machine churning or hand stirring method, these initial steps are the same
- First, you need to decarboxylate your weed. Preheat your oven to 250 degrees. Getting your temperature as precise as possible is important (if you have an oven thermometer we recommend using it)
Step 2: Combine Weed with Oil and Put in Oven for 2 Hours
- In a small porcelain ramekin or another oven-safe dish, combine your ground weed with 2 tablespoons of coconut oil
- Cover the ramekin with a few layers of tin foil and then place it in the oven, untouched for 2 hours
Step 3: Combine Decarbed Weed with Ingredients and Simmer
- After 2 hours when the decarb process is complete, remove the ramekin from the oven and set it aside
- In a small pot combine the full contents of the ramekin, the organic heavy cream, organic milk, coconut sugar and salt
- Bring the mixture to a simmer on medium-low heat for at least 20 minutes. It’s important not to let this come to a full boil
- The additional time allows a more thorough decarb and gives the THC a chance to percolate fully throughout all the fats in the mixture, making your cannabis ice cream the most potent
Step 4: Whisk Eggs and Combine with Cream
- When finished remove the pot from the heat.
- Then, in a heat-safe bowl, break the eggs and whisk the 6 egg yolks.
- While continuously whisking slowly add ⅓ of the hot cream mixture into the egg yolks to avoid scrambling the yolks
- After, pour this mixture back into the pot and return the pot to a medium-low heat
- Heat until the mixture coats the back of a spoon, roughly 170 degrees using a cooking thermometer if you have one
- Remove from heat and allow to cool slightly.
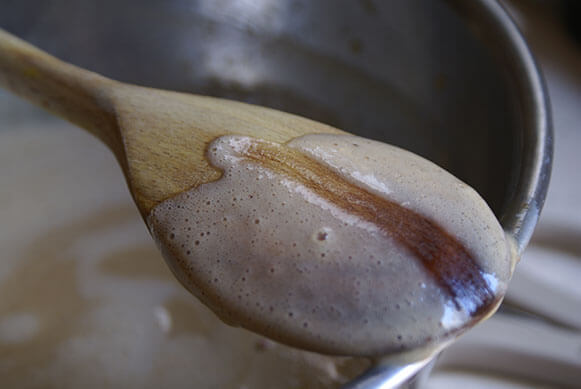
Step 5: Filter Mixture Through Cheesecloth
- You’ll need to filter the mixture through a cheesecloth into a bowl to remove the spent plant material. Make sure to squeeze as much liquid out of the cloth as possible.
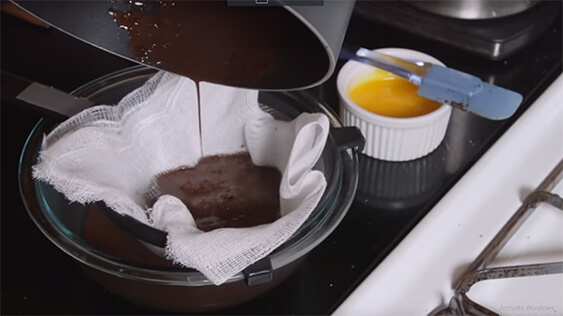
Step 6: Chill Mixture for 4 hours
- Place the bowl into the refrigerator and allow it to cool fully, for at least 4 hours.
Step 7: Add Flavorings
- Once cooled add your flavourings. We’re using a teaspoon of peppermint extract, a cup of mini-chocolate chips and a few drops of green food colouring. Green seems a fitting choice for multiple reasons.
Step 8A: Churn Mixture with Ice Cream Maker
- Now if you have an ice cream machine this is where your device’s instructions take over
- Add the mixture into the machine as directed. Most ice cream makers suggest churning for 20-25 minutes. Right out of the ice cream maker your cannabis ice cream will have a soft-serve consistency.
- If you prefer more of a hard pack, parlour-style ice cream you’ll want to scoop the frozen mixture into a bowl, leaving a bit of room for expansion, put on a lid and freeze overnight.
- Your weed ice cream is complete!
Step 8B: Don’t Have an Ice Cream Maker? Mix by Hand
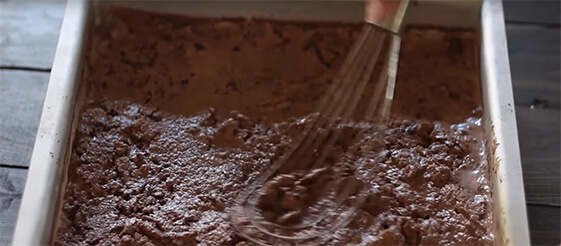
- If you’re mixing by hand, pour your ice cream mixture into a shallow pan, an inch-to-an-inch and a half deep (the ice cream, not the pan)
- Put the pan in the freezer for 45 minutes
- When you pull it out you’ll notice that it mildly froze in places
- Use a whisk to thoroughly stir and distribute your mixture, breaking up any larger frozen pieces you encounter.
- Pop the tray back in the freezer and begin taking it out and stirring every half hour for about 2-3 hours
- You’ll find it getting thicker and thicker each time. As it thickens feel free to use a hand mixer if you have one to get a better stir.
- When it’s done, you should have fully frozen, finished ice cream. You’ll know it’s finished when it clings to the pan and holds its shape.
- Transfer it to a tightly-sealing freezer container.
Step 9: Decorate with Toppings
- Scoop your organic weed ice cream into a glass to make your THC Sunday
- Gather all your favourite toppings – marshmallows, chocolate pieces or caramel sauce slathered on top are yummy options. Or healthier alternatives are fruit toppings like bananas or strawberries, walnuts or almonds.
Need a Visual? Here’s a Video
With an ice cream maker:
Without an ice cream maker:
How to Make Cannabis Ice Cream in Hindsight
That’s it!
Now that you have the process of how to make cannabis ice cream down, experiment a little more with different ingredients and different materials to perfect your marijuana edible creating skills!
Heck, maybe break into the industry and take the dairy space by storm.
And, if you’re looking for something less psychoactive, watch out for our recipe on CBD cannabis ice cream and articles on everything else weed-related.
Cheers!

